Hardwood floorings have stayed a preferred option among property owners and interior designers alike because of their ageless elegance, longevity, and the heat they give any area. Nonetheless, mounting hardwood flooring can be a difficult task for numerous. This detailed guide seeks to debunk the process and offer you with all the pointers and techniques you need for successful wood flooring installation.
What is Wood Floor Installation?
When we discuss hardwood flooring installation, we're describing the procedure of setting wooden planks as floor covering in homes or business spaces. These slabs can be made from different sorts of wood, consisting of oak, maple, cherry, and more.
Why Select Wood Flooring?
Aesthetic Appeal: Wood floors add an all-natural charm that boosts the overall appearances of your home. Durability: With proper care, hardwood can last decades. Increased Property Value: House with wood floorings typically cost higher prices. Variety: Available in different varieties, shades, and finishes.Types of Wood Flooring
Understanding the various types of wood floor covering is essential before diving right into installation.
1. Solid Wood Flooring
- Made from a single item of wood. Can be fined sand and redecorated several times. Generally much more costly than crafted options.
2. Engineered Wood Flooring
- Composed of several layers of wood veneer. More immune to moisture compared to solid wood. Typically simpler to install.
The Ultimate Guide to Hardwood Floor Installment: Prep Work Steps
Before you also consider laying down those lovely wooden slabs, there's some prep work involved.
1. Examining Your Space
First off, determine your area properly! It's crucial to know how much floor covering material you'll need.
How do I determine my space?
Simply measure the length and size of the space in feet and increase them together for square footage.
2. Choosing Your Wood Type
Based on your budget and design preferences:
- Domestic Woods (maple, oak) for traditional looks Exotic Woods (teak wood, mahogany) for a distinct flair
3. Acclimating Your Timber Planks
It's crucial to permit your wood slabs to accommodate in the setting where they'll be mounted for at the very least 48 hours.
Tools You'll Need for Installation
Having the right devices is half the fight won!
|Tool|Objective|| ---------------------|-------------------------------------|| Tape Measure|To measure room|| Saw|To reduce timber planks|| Hammer|For toenailing|| Pry Bar|To get rid of old flooring|| Degree|To ensure floorings are even|
The Installation Refine: Detailed Guide
Now onto the fun component-- laying those gorgeous boards down!
1. Prepare Your Subfloor
Make certain your subfloor is clean, completely dry, and level before starting installation.
2. Lay Down Underlayment
Underlayment gives supporting and sound absorption while helping with wetness control.
3. Begin Installing Planks
Begin in one edge of the room:
- Place slabs tongue-side in the direction of the wall Use spacers for a growth gap
4. Nailing Down or Gluing Planks
Depending on your chosen method:
- For strong wood: nail down using a pneumatically-driven nailer For engineered timber: glue can be applied according to manufacturer guidelines
5. Cutting Slabs as Needed
Measure two times; cut when! Constantly guarantee you're cutting properly to stay clear of mistakes.
6. Ending Up Touches: Trim & Molding Installation
Once all slabs are laid down:
- Install walls or quarter-round trim Fill voids with caulk or putty if necessary
Maintenance Tips Blog post Installation
Even after installment, preserving your wood floorings is crucial.
1. Normal Cleaning Routine
Dust frequently making use of a microfiber wipe or broom.
Can I utilize water on my wood floors?
No! Excess water can harm wood floors; instead use particularly formulated cleaners.
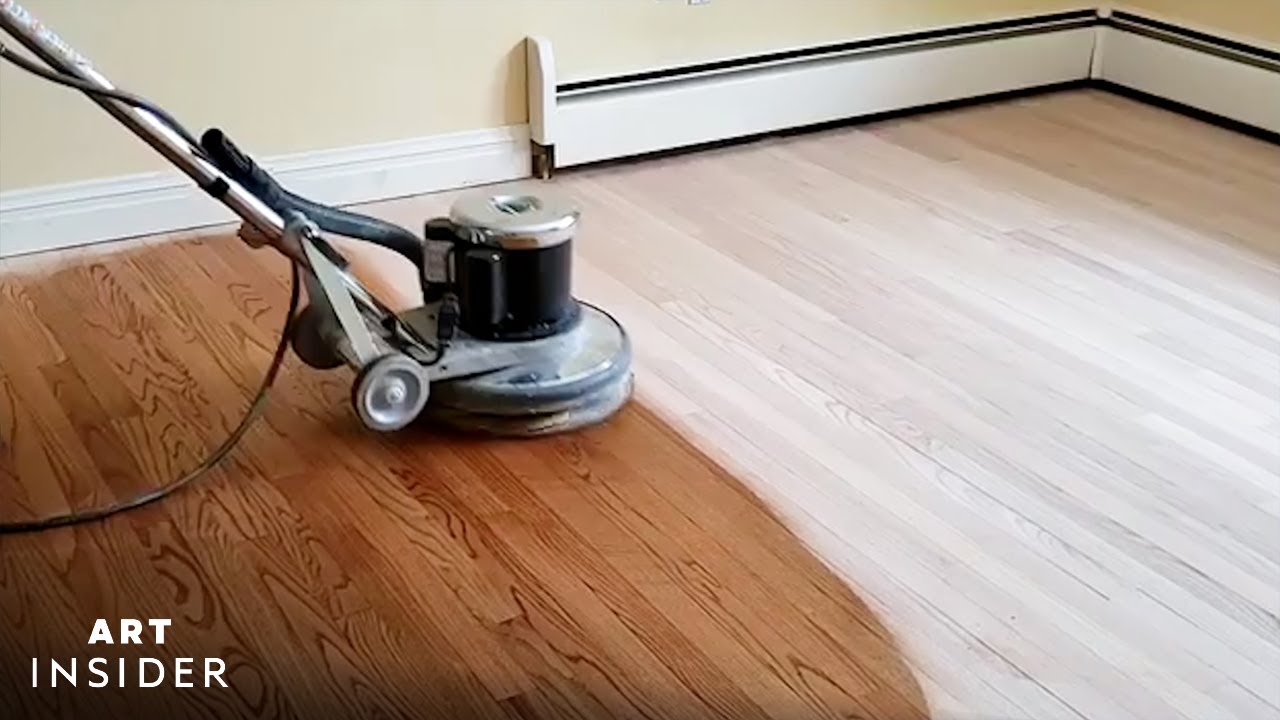
2. Redecorating Your Floors When Necessary
Over time scratches may appear; refinishing can revive damaged floors!
How commonly should I refinish my wood floor?
Typically every 5-- ten years depending upon wear.
Common Errors Throughout Installation
Even experienced DIYers can make mistakes during installation!
1. Skipping Acclimation
Failing to enable timber time to adjust can lead to deforming post-installation.
2. Neglecting Subfloor Issues
An improperly prepared subfloor leads straight to troubles later on-- be diligent!
The Advantages of Specialist Installment vs DIY Approach
While DIY may sound appealing:
- Professionals bring expertise They'll likely finish it faster Warranty alternatives might come with specialist installations
FAQs About Hardwood Floor Installation
Q1: Exactly how do I select between strong vs engineered hardwood?
A1: If resilience and refinishing potential are concerns, go solid; or else think about engineered for moisture-prone areas.
Q2: Is underlayment necessary?
A2: Yes! Underlayment safeguards against dampness issues while offering cushioning below your feet!
Q3: Can I mount over existing flooring?
A3: It's possible however not always advised-- make certain existing flooring does not create height issues or instability!
Q4: What's a reasonable allocate hardwood flooring installation?
A4: Rates normally varies from $3-$12 per square foot relying on type & & intricacy of installation.
Q5: Do I need special tools for redecorating my floor?
A5: Yes! Equipment like sanders and buffer machines will yield far better results than hand-operated methods!
Q6: How long does it consider brand-new floors to resolve after installation?
A6: Permit a minimum of 1 day before relocating furnishings back into location; complete adjustment may take longer depending on https://beaumtst042.trexgame.net/renew-your-home-the-advantages-of-hardwood-floor-refinishing atmosphere conditions!
Conclusion
In final thought, "The Ultimate Guide to Hardwood Flooring Setup: Advice for Success" outfits you with beneficial insights right into selecting products sensibly while performing each step completely-- from prep work with maintenance! Whether you pick do it yourself approaches or opt for specialist services, this overview will help guarantee that your undertaking right into the world of wood floor covering goes off easily! Satisfied installing!